Compute
Raspberry Pi 4 with ESP32 low-level control.
Product development · Summer 2026
An autonomous indoor rover concept designed around a real caregiving problem at home.
01 / Why PawGuard
My senior dog had started forgetting familiar habits, creating a constant supervision challenge for my family. PawGuard began with a simple question: could a small, friendly robot help us keep an eye on him when no one could be there continuously?
The intent was never to scare, chase, or punish him. I designed a quiet, low-speed monitoring concept that could move through normal indoor spaces, observe behavior, and add a physical bumper as a backup safety layer.

02 / System architecture
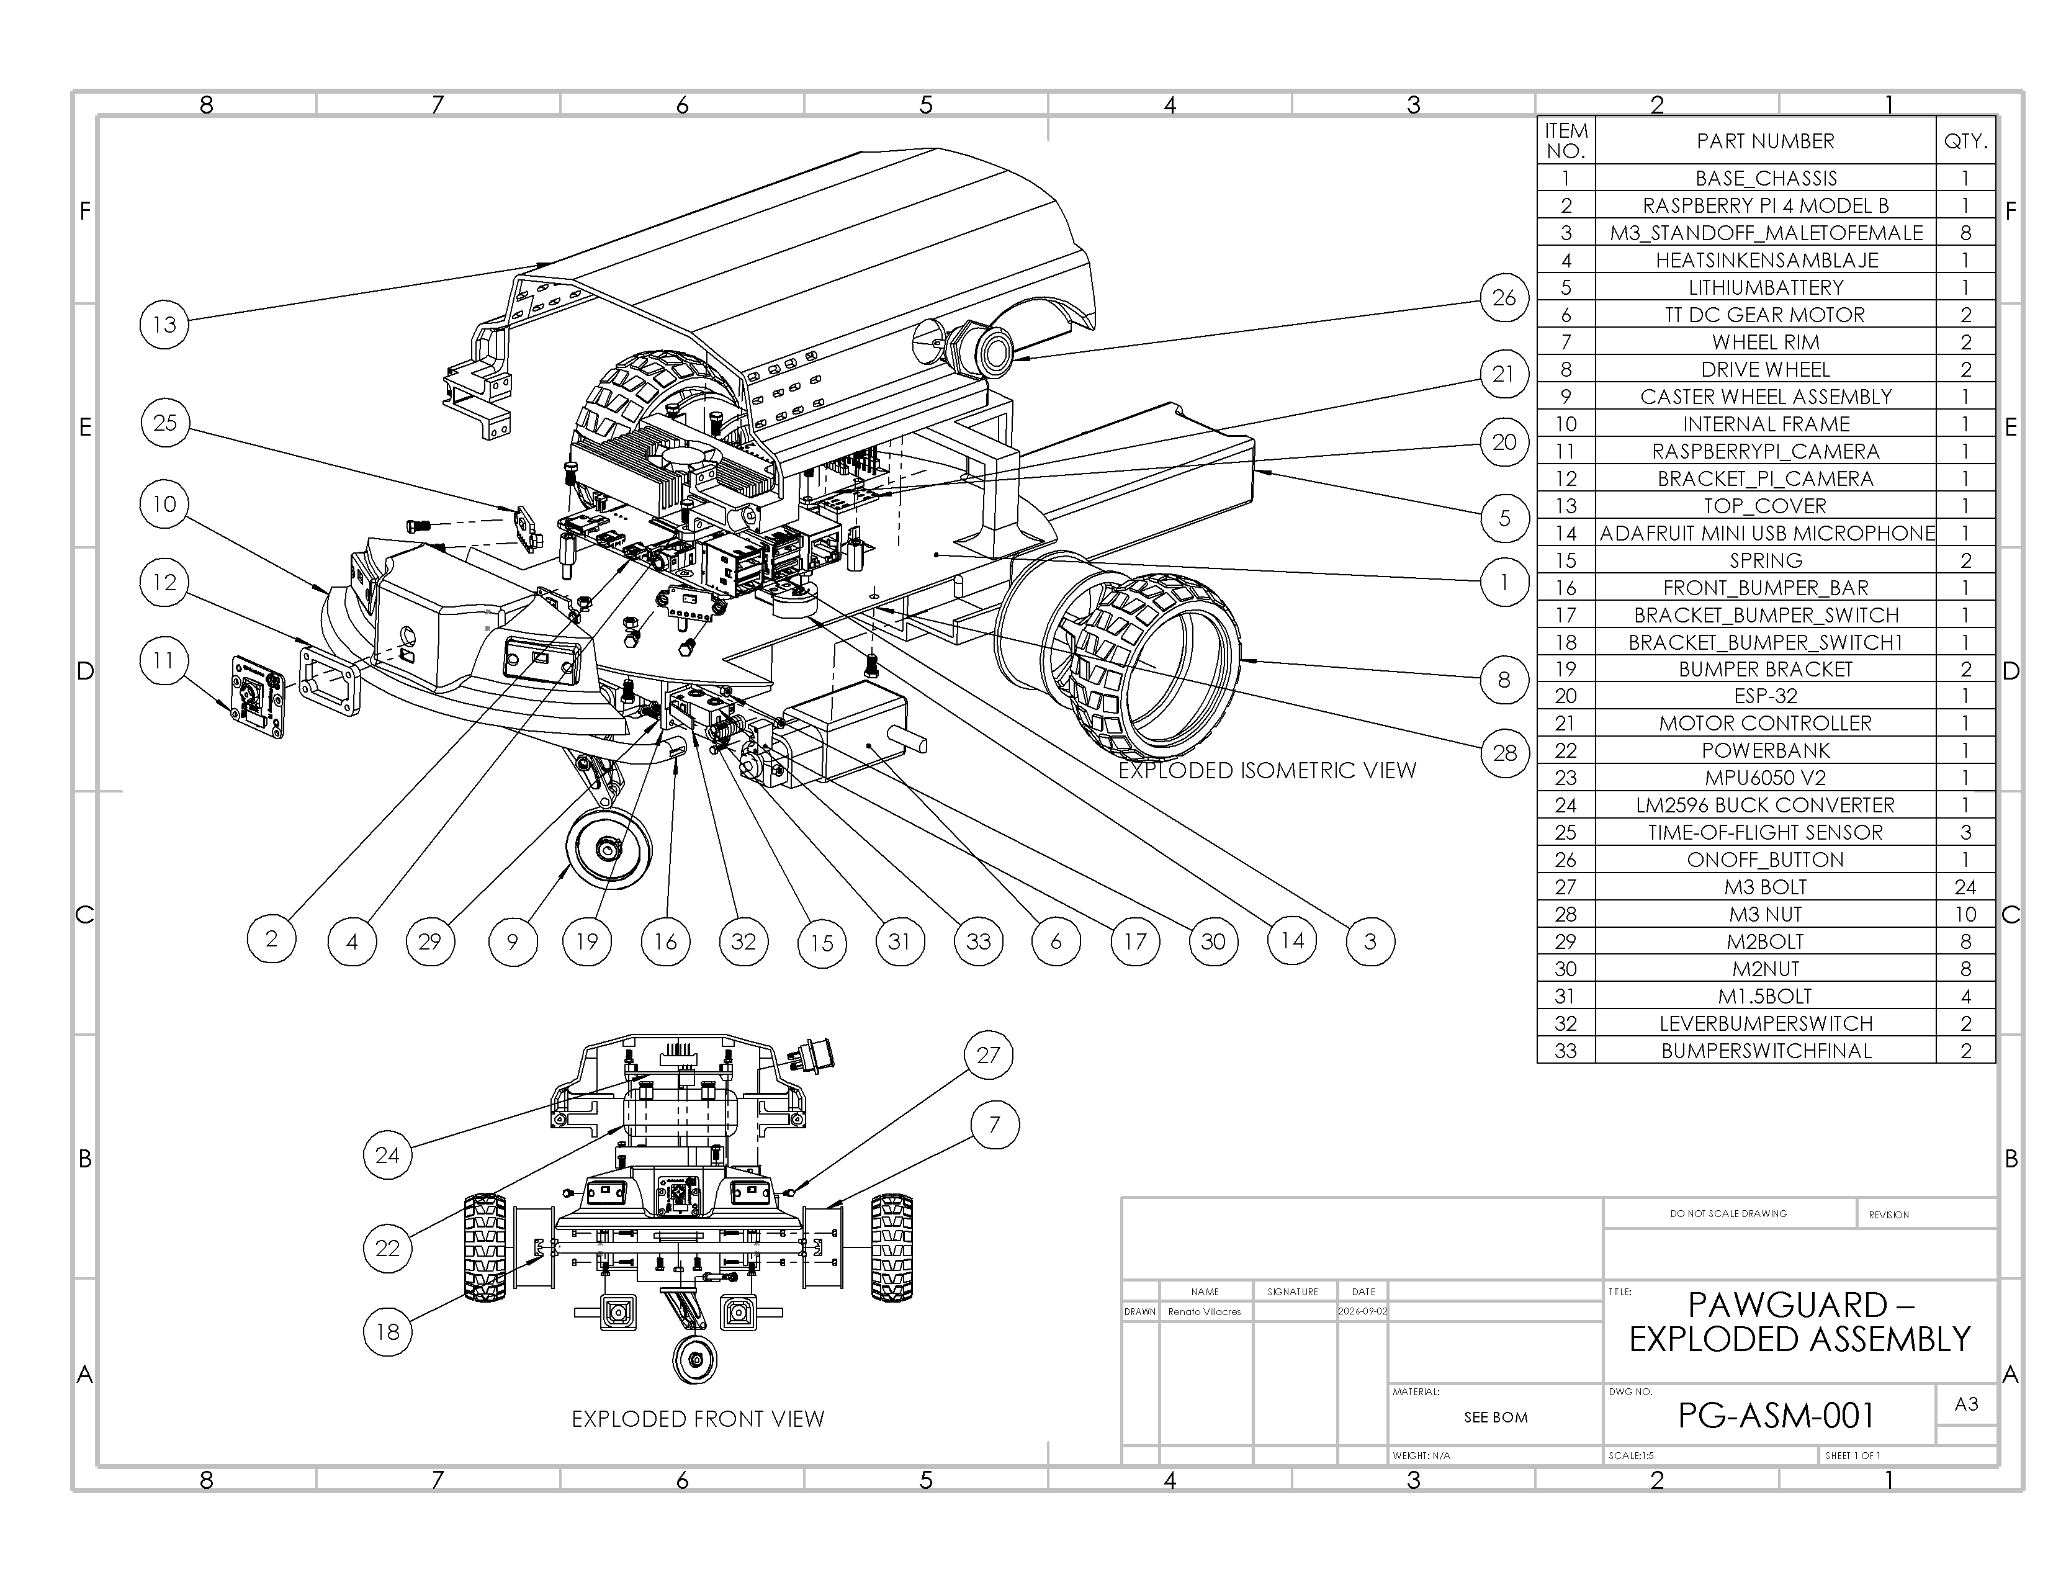
The central challenge was not choosing impressive components. It was deciding where each subsystem belonged, what clearance it needed, and what it might interfere with.
Raspberry Pi 4 with ESP32 low-level control.
Forward camera and time-of-flight distance sensing.
Two rear drive wheels and a front caster.
Physical bumper switches and a separated power strategy.

03 / Mechanical architecture
Several placements worked in one view and failed in another. I repeatedly checked the assembly from the top, side, rear, and underside—then rebuilt the surrounding geometry.
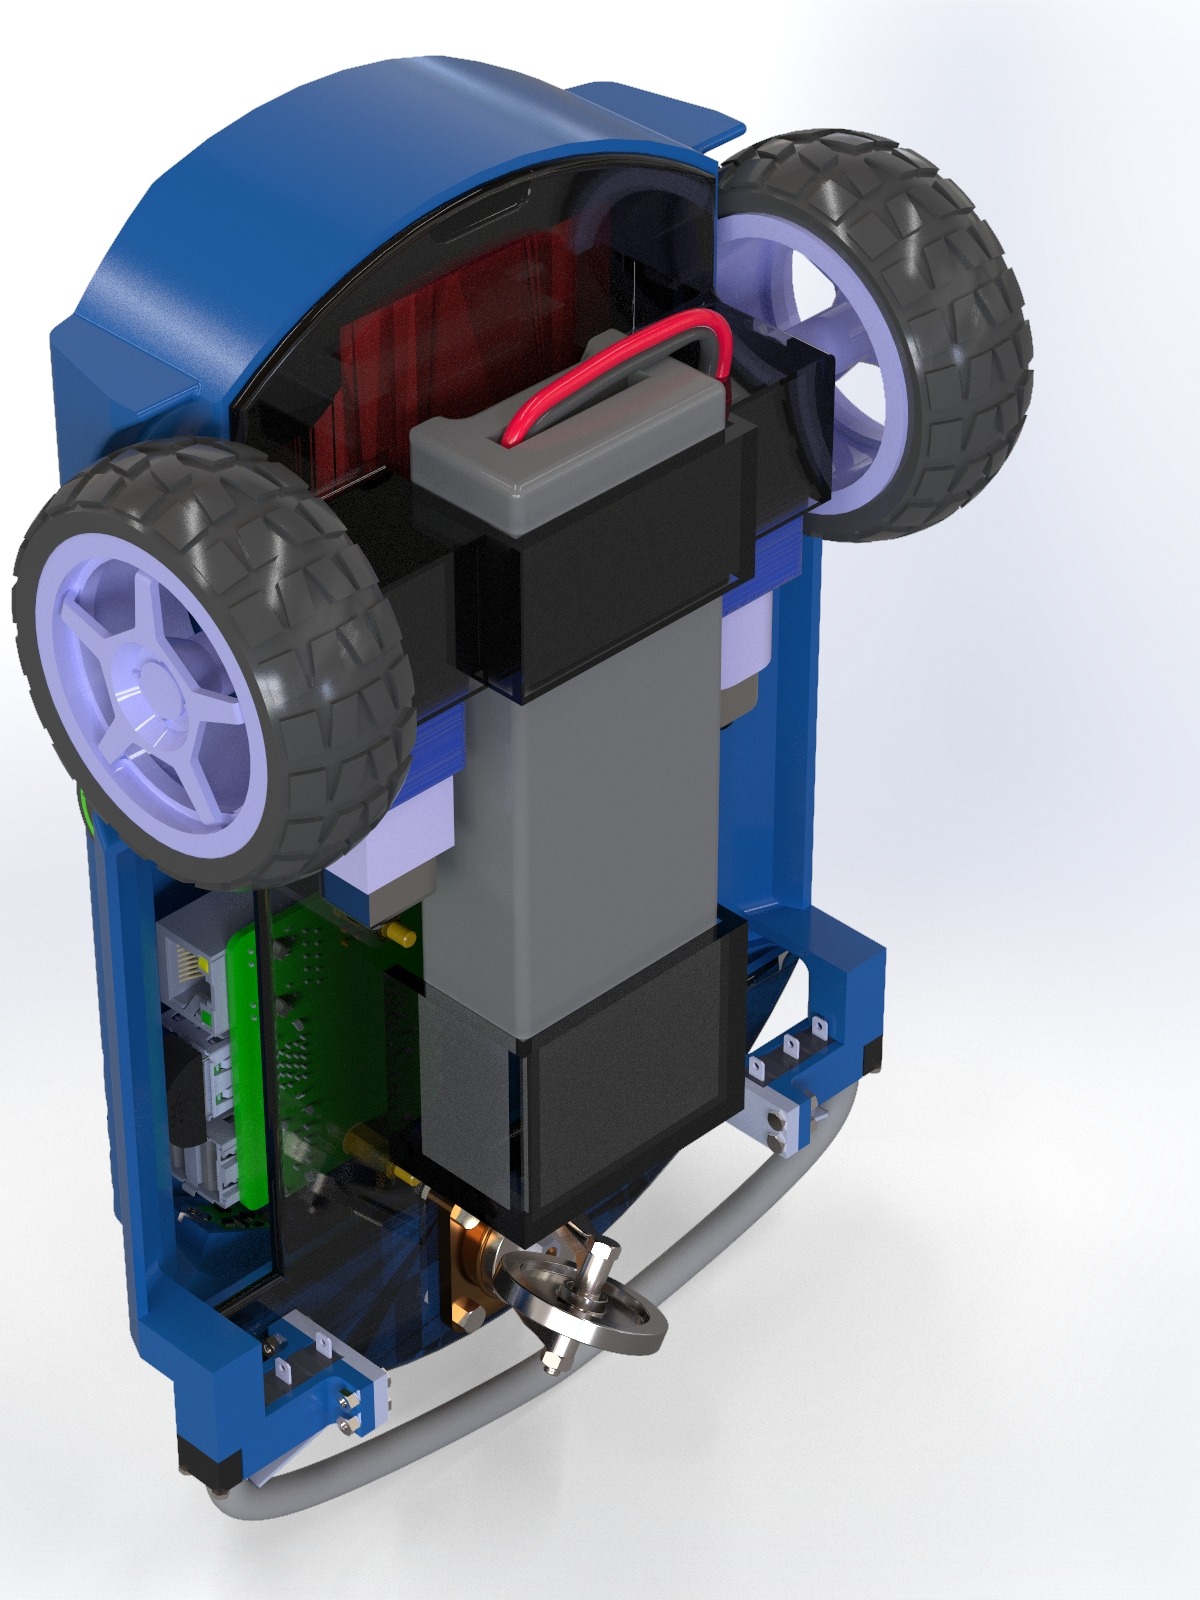
Heavy batteries stayed low and close to the centerline.
Wheel envelopes, motors, brackets, and shell were checked together.
Major electronics remained reachable for wiring and service.


04 / Front module + safety
Camera, distance sensors, bumper switches, bumper travel, and caster motion all converge at the front. I developed them as one shared architecture instead of mounting each part independently.
Moving sensors outward improves angular coverage, but increases the width of the module and competes with the bumper, wheel envelope, and enclosure. The design balances coverage with compactness.
05 / Engineering judgment
Once the true system cost and integration effort became visible, I froze the feature set and focused on finishing the mechanical design, documentation, and communication to a professional standard.
Reducing scope was not giving up on the project. It was learning to separate the most important engineering objective from the version I first imagined.
06 / Final package

Outcome
PawGuard became a full CAD-focused product-development package: SolidWorks assembly, custom enclosure and front module, internal packaging, exploded views, 2D drawing, BOM, budget, renders, and animation. More importantly, it strengthened how I make—and explain— engineering decisions.
Explore the rest of my work